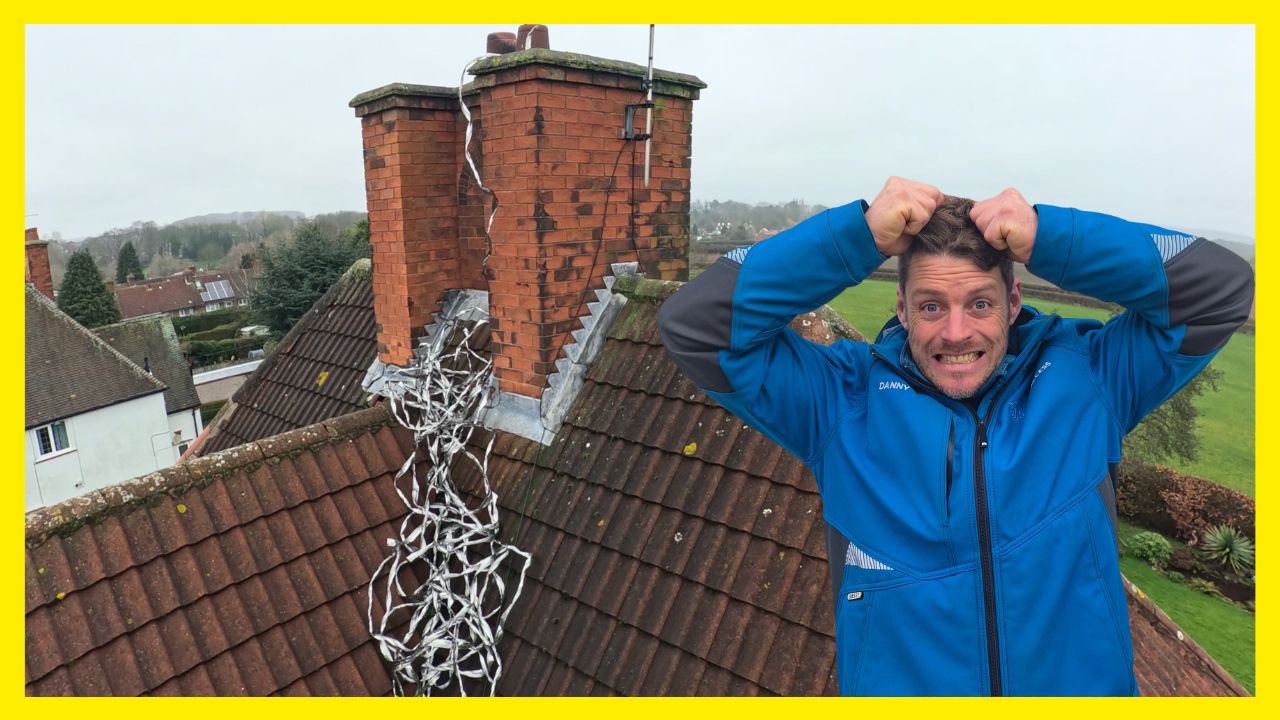
Chimneys are often one of the most overlooked parts of a property, right up until they start letting water in or shedding bricks. In this job, I was called out to Gedling, Nottinghamshire, to carry out a full chimney repair and maintenance package addressing long-term wear, water ingress risks, and a few legacy issues that had been left untouched for years.
This blog walks you through what I found, why it mattered, and how I repaired it properly. If you’d like to see the work carried out step by step from the basket, you can watch the full video here:
Initial Inspection – What Was Wrong With the Chimney?
On first inspection, several issues stood out immediately:
- An old TV aerial still fixed to the chimney, no longer in use
- Cracked and failing flaunching, allowing water to track down between the pot and masonry
- Poorly bonded flaunching, no longer properly attached to the brickwork
- The top three courses of bricks were shale and face-damaged, a common issue on older chimneys
- Worn and open pointing in multiple areas
- Lead flashings visible and loose, allowing water to penetrate the roof structure
Individually, some of these might seem minor. Together, they’re a recipe for damp problems, internal staining, and long-term structural damage.
Removing the Failing Materials
Before any repairs could begin, everything that had failed needed to come off:
- Chimney pot and existing cowl
- Cracked flaunching
- Redundant aerial
- The top three courses of damaged brickwork
This gave me a clean, honest view of the chimney structure and allowed repairs to be done properly not just patched over.
A Look Inside the Chimney – Why Sweeping Matters
While the chimney is currently unused, it clearly had been in service at some point. Inside, there was a significant buildup of old soot.
This is something many homeowners don’t realise:
- Old soot contains hygroscopic salts, which attract moisture from the air
- These salts are corrosive and can accelerate deterioration
- Damp inside the flue can be drawn into the house via capillary action, causing internal damp issues
Professional advice:
If you have a log burner or open fire, don’t wait until September to sweep your chimney. Have it swept in April, just after the heating season ends. That way, corrosive residues aren’t sitting inside the flue all summer.
Grinding Out and Preparing the Brickwork
With the chimney stripped back, the next step was preparation:
- All existing mortar joints were fully ground out
- A Metabo grinder with vacuum attachment was used to control dust
- An 8mm mortar raking disc ensured consistent joint depth
- Full PPE was worn, goggles and respirator are essential
Once raked out, all joints were blown clean using a small battery-powered blower. Clean joints are critical, new mortar will not bond properly if dust is left behind.
Choosing the Right Mortar Mix (This Is Critical)
For repointing, I used a 5:1 building sand to cement mix, with plasticiser added for workability. The mix was deliberately on the wet side, as it was applied using a mortar gun.
A key principle here:
Your mortar should be softer than your bricks.
Why?
- Moisture must escape through the pointing, not the bricks
- Hard mortar forces moisture into the brick faces
- That leads to bricks becoming shale and breaking down
- Mortar is easier (and cheaper) to replace than bricks
Think of pointing as a sacrificial layer, it should last decades, but it’s designed to fail before the masonry does.
Bedding the Pot & Re-Flaunching the Chimney
Once pointing was complete, attention turned to the top of the stack.
The flaunching mix was strengthened to around a 3:1 ratio, using:
- Building sand
- Sharp sand
- Extra cement
- SBR Bond added for flexibility and water resistance
SBR significantly improves durability and helps the flaunching cope with thermal movement and weather exposure. It’s something I routinely use for long-lasting chimney work.
Upgrading the Chimney Cowl for Gas Use
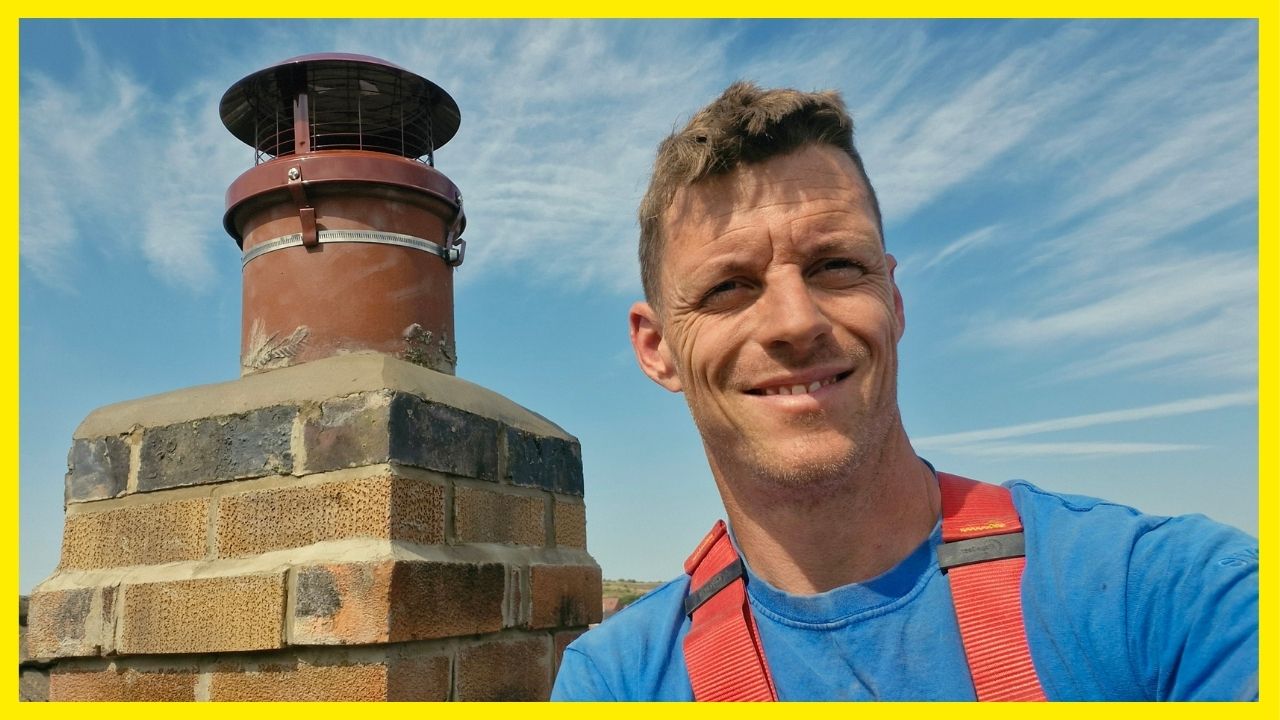
The homeowner mentioned the possibility of fitting a gas fire in future. The existing cowl wasn’t suitable, so it was replaced with a Colt High-Top Bird Guard designed for gas appliances.
The difference between gas and multi-fuel cowls is subtle but important, mainly in the mesh design. Fitting the correct cowl now avoids unsafe setups later.
To keep things efficient, the cowl was swapped on the ground before going back up in the basket.
The Finished Result – What Was Done?
By the time the job was complete, the chimney had been fully refurbished:
- Top three courses rebuilt with new bricks
- All brickwork repointed
- Flashings re-seated and sealed
- Chimney re-flaunched
- New gas-rated cowl installed
- Redundant aerial removed
A tidy, solid chimney—built to last and properly protected from the elements.
If you’d like to see the entire process from start to finish, including the tools, materials, and techniques used, watch the full video here:
Final Thoughts
Chimney repairs aren’t just about appearances. Done incorrectly, they can trap moisture, accelerate decay, and create internal damp problems. Done properly, they can add decades of life to a chimney stack.
If you found this useful, feel free to share it, leave a comment on the video, or follow me online for more real-world chimney and high-access work.
Follow Me Online:
- 🌐 Website: www.dji-uk.co.uk
- 🎥 YouTube: @dan_cherrypicker_man
- 🎵 TikTok: @dan_cherrypicker_man
- 📸 Instagram: @dan_cherrypicker_man
- 👍 Facebook: Dan the Cherry Picker Man
- ⭐ Google Business Page: DJI High Access Services – Google Search
- 🛒 Amazon Shop: https://www.amazon.co.uk/shop/danthecherrypickerman?ref_=cm_sw_r_cp_ud_aipsfshop_0H3MM4YGDVAPRTXQJAYV_1
My workwear is sponsored by Granite Workwear, and all of the clothing I’m wearing in the video can be purchased on their website: Workwear Clothing Supplier | Protective Safety Clothes