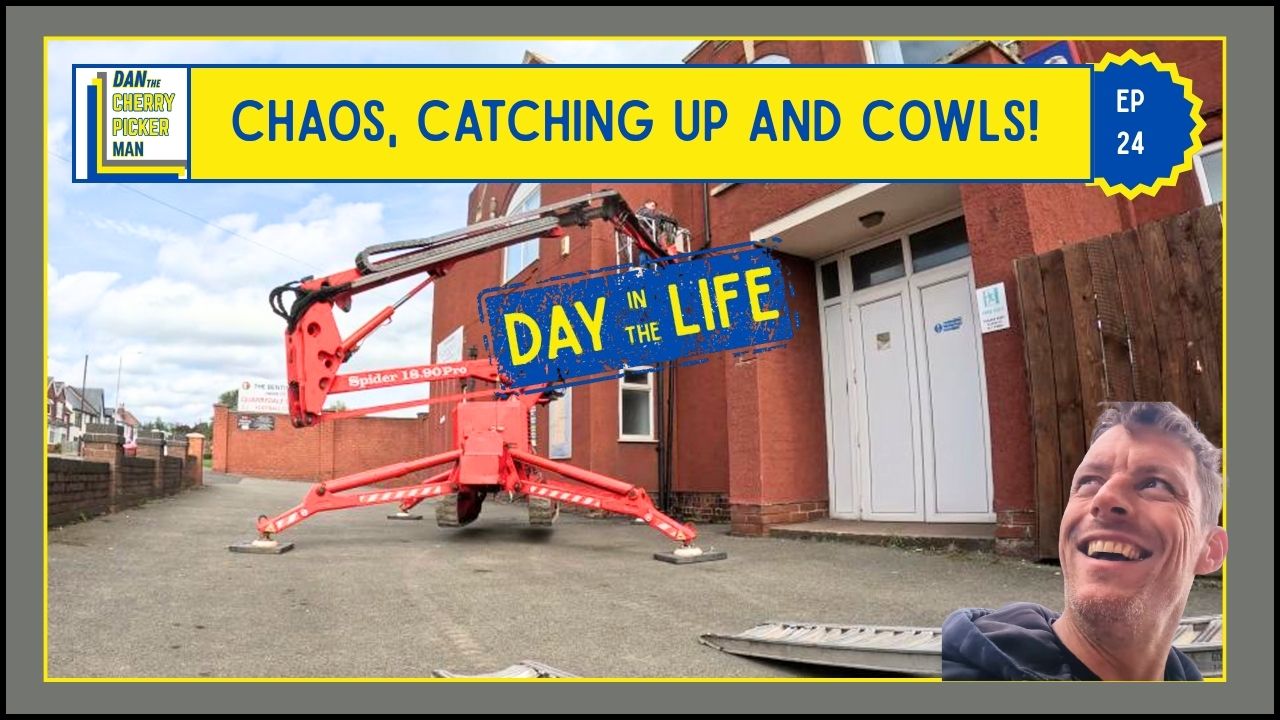
Some days are neat, tidy and efficient.
Other days involve criss-crossing Nottinghamshire and Derbyshire like a slightly confused delivery driver with a drone, a camera bag and a growing list of roof reports to write when he gets home.
This video follows one of those days.
I was out carrying out roof surveys in Kimberley, Ripley, Sneinton and Mansfield, using my drone to inspect roofs, chimneys, ridge tiles, lead flashings, gutters, valleys and all the awkward areas that are difficult and often unsafe to inspect properly from the ground.
You can watch the full video here, then come back and read the breakdown below: https://youtu.be/npZ8zHqaCKM
Why I Use a Drone for Roof Surveys
A drone roof survey is a brilliant way of getting a clear look at the condition of a roof without immediately needing ladders, scaffolding or cherry picker access.
I’m insured and qualified to carry out roof surveys using a drone, which allows me to photograph and inspect areas such as:
- Ridge tiles
- Chimney stacks
- Chimney flaunching
- Lead flashings
- Valleys
- Slipped or missing tiles
- Gutters and roof gullies
- Dormer details
- General roof condition
Once I’ve completed the survey, I review the footage properly, usually on a laptop where I can see much more detail than on the drone controller screen. I then put the findings into a written report with photographs, explanations, recommendations and quotations where required.
For customers with suspected leaks, damaged chimneys or ageing roofs, this gives a much clearer starting point than simply guessing from ground level. It is especially useful when investigating possible roof leak repair issues where the cause is not immediately obvious.
First Survey: Kimberley, Nottinghamshire
The first job of the day took me to Kimberley in Nottinghamshire, where I was inspecting a large former school building being converted into flats.
The customer was concerned about daylight showing through around the ridge tiles, so the main aim was to inspect the ridges and the general condition of the roof.
Large Gaps Around the Ridge Tiles
Once the drone was up, the problem became clear. There were large gaps between the ridge tiles, and the ridges did not look particularly well bonded to the roof.
Ridge tiles are one of those areas that often get overlooked until there is a leak or visible movement. If they are loose, cracked or poorly bedded, wind-driven rain can get in, mortar can continue to deteriorate, and eventually the tiles may need rebedding.
On this roof, the ridge tiles were uneven and would benefit from proper attention rather than a quick patch-up.
Missing Tiles and General Roof Repairs
The drone also picked up missing tiles in various places. Missing tiles may seem like a small issue, but they can quickly lead to water ingress, damaged battens, damp insulation and internal staining.
This is exactly why a thorough roof inspection is useful. You are not just looking for one obvious problem; you are looking at the whole roof system and how each part is performing.
For this type of work, I would normally look at what roof repair options are most practical, whether that means replacing individual tiles, rebedding ridges, repairing valleys or carrying out more targeted maintenance.
Chimney Issues: Flaunching, Pointing and Long-Term Decisions
The chimney on the Kimberley property also needed attention.
The concrete flaunching on top of the chimney did not extend properly to the edge of the brickwork. That might sound like a small detail, but it can make a big difference. Flaunching is there to shed water away from the chimney pots and brickwork. If it is poorly formed, water can sit on the top of the stack or run into the mortar joints.
In this case, there was a lot of erosion to the mortar joints, particularly near the top of the chimney.
Repoint or Remove?
One of the key questions with any chimney repair is whether the chimney is still in use.
If it is in use, then chimney repointing, chimney flaunching and general chimney repairs may be the right route. If it is no longer needed, especially on a large deteriorating stack, it may be better long-term to remove the chimney and tile over the opening.
That is not a decision I make blindly from the roof footage alone. It needs a discussion with the property owner, because the best recommendation depends on how the chimney is used, the condition of the stack and the customer’s long-term plans for the building.
For anyone dealing with similar problems, my chimney maintenance and repair service covers issues such as deteriorated pointing, failed flaunching, open pots, chimney leaks and general stack repairs.
Second Survey: A Beautiful Converted Storehouse in Ripley
The next survey took me to Ripley in Derbyshire, to a stunning converted storehouse that had been turned into three cottages.
This was one of those properties where you walk in and think, “Yes, I could live here.” Oak floorboards, big slab floors, character everywhere the sort of building that makes you forget you are technically there to look at damp stains.
Almost.
Internal Staining Around the Chimney Breast
The issue was staining inside the property around the chimney breast. On first impression, it looked like a flashing problem.
That is usually one of the first things I consider when there is staining around a chimney. Water can get in where the lead flashing meets the brickwork, where soakers fail underneath the tiles, or where pointing has deteriorated behind the lead.
But this one was not straightforward.
From the drone footage, the flashing looked reasonably good on the surface. The pointing also looked mostly okay, although there were a few missing sections. That raises the question of whether the chimney had been overstruck at some point.
The Problem With Overstruck Pointing
Overstruck pointing can make brickwork look tidier from a distance, but it can also hide problems underneath.
If old, weak mortar has not been properly raked out before new mortar is applied over the surface, water may still be able to get behind it. From the outside, the chimney might look acceptable. Underneath, it can still be allowing moisture through.
That is why roof surveys are not always about finding an obvious hole. Sometimes they are about gathering clues.
The flaunching had some cracks, and the cowls needed sealing, but neither of those would usually explain the type of staining visible inside. Not impossible, but not where I would put my first bet.
This is where experience matters. A proper diagnosis means looking at the internal evidence, the external roof details, the chimney construction and the likely path water would take.
Third Survey: Sneinton, Nottingham
After Ripley, I had to drive about 40 minutes in the wrong direction to Sneinton in Nottingham.
This is where the day became slightly less efficient and slightly more “why did I plan my life like this?”
The reason was simple: customers had confirmed surveys but paid at different times during the day. I charge for roof surveys upfront because, in the past, I have turned up to jobs only to be told the customer no longer needed me or had already had someone else round.
Charging upfront keeps things fair and avoids wasted journeys.
But when payments come in at different points during the day, the route can end up less than ideal. So instead of a neat loop, I ended up touring Nottinghamshire and Derbyshire in a route that made very little geographical sense.
Happy days.
What I Look for First During a Roof Survey
At the Sneinton property, the first thing I did was get an overall shot of the roof.
This is something I try to do on most surveys because it gives me a reference point for the report. When you are writing up multiple roof defects, photographs of close-up details are useful, but an overview photo helps everyone understand where those defects are on the property.
From there, I moved in closer to inspect the chimney, valleys, dormer, slates, flashings and gutters.
Sneinton Roof Survey: Vegetation, Slipped Slates and Poor Repairs
This roof had plenty going on.
The first obvious issue was vegetation growing around the chimney. There was also rubbish in the back gutter area, including broken tiles and even a water bottle.
That is never a great sign.
When someone has been working on a roof and leaves broken tiles, debris or rubbish behind, it tells you something about the standard of care. Roofs need to shed water efficiently. Debris in gutters, valleys or chimney back gutters can hold moisture, block water flow and contribute to leaks.
For blocked gutters, valleys or awkward roofline areas, professional gutter clearance and roofline cleaning can prevent much bigger problems later on.
A Poor Chimney Flaunching Repair
The chimney itself looked as though someone had put mortar over the top of the existing flaunching rather than removing the failed material and rebuilding it properly.
That is not a proper chimney flaunching repair.
If old flaunching is cracked, loose or badly formed, simply smearing mortar over the top rarely solves the problem. It can trap moisture, fail quickly and leave the chimney in much the same condition as before just with an extra layer of mess.
The pointing also did not look great, and there was plenty of vegetation around the stack. All of that would need flagging in the roof report.
Dormer Flashing and Missing Guttering
Further along the roof, I inspected the side of a dormer extension.
There was buddleia growing out of the flashings, which is never something you want to see. If a plant has managed to take root in a roof detail, there is usually enough debris, moisture and weakness there for it to establish itself.
There was also mortar benching between the roof and the slate cladding on the dormer, which suggested someone may have tried to deal with a water issue previously.
Another detail that stood out was the lack of guttering on the dormer extension. On that type of roof, I would normally expect to see gutters. Without them, rainwater may be running where it should not, potentially contributing to damp or staining below.
Step Lead Flashing Problems
The step lead flashing where the roof met the neighbouring wall was another concern.
The seal between the lead and brickwork was missing in places. That matters because water can get behind the lead flashing and track down the wall into the property.
This is a very common cause of roof leaks around abutments and chimneys. The lead itself may still be there, but if it is not properly sealed into the wall, it cannot do its job properly.
A lot of roof leak repair work comes down to details like this. It is not always a dramatic missing tile. Sometimes it is a small failed joint that quietly lets water in every time it rains.
Rear Chimney: Another Sorry-Looking Repair
The rear chimney was also in poor condition.
Again, it looked as though mortar had been applied over the top of old flaunching. There was even a large hole at the top of the chimney, possibly where the previous repairer simply could not reach properly to finish the job.
That is where access matters.
If you cannot safely reach the area you are working on, the quality of the repair is almost always going to suffer. This is one of the reasons I use cherry picker access for roofing and chimney work. It allows me to reach awkward areas properly, work safely, and actually see what I am doing rather than stretching from a ladder and hoping for the best.
You can see more of the roof survey process in the full video here: Watch Video
Why I Charge Upfront for Roof Surveys
Halfway through the day, I had a small rant in the van.
A polite rant. Mostly.
The way my roof survey service works is that I charge upfront before attending. That is because I have previously been messed around by people who ask me to come out, then cancel, forget, use someone else or decide they no longer need me sometimes without telling me.
A proper roof survey takes time. There is travel, drone setup, footage capture, reviewing photographs, writing the report, making recommendations and preparing quotations.
Charging upfront means customers are committed, and it means I can organise my day properly. Or at least try to.
On this particular day, some payments came in late, which meant my route became much less efficient. Instead of doing Sneinton, Kimberley, Ripley and Mansfield in a sensible order, I ended up zig-zagging across the region.
Fuel, time and sanity all took a small hit.
Final Survey: Mansfield and Hygroscopic Salts
The final survey of the day was in Mansfield.
This was another interesting property, dating back to the 1800s. Unlike the Sneinton roof, this one looked good externally. It had a newer roof, the leadwork looked sound, and there were no obvious signs of active penetrating damp from the outside.
But inside, there was significant staining and what appeared to be hygroscopic salts.
What Are Hygroscopic Salts?
Hygroscopic salts are salts within masonry or plaster that attract moisture from the air.
They can be left behind after a previous damp problem. Even after the original leak has been fixed, those salts can continue drawing moisture into the plaster whenever the air is damp, making it look like the leak is still active.
That is why damp diagnosis is not always simple.
In this case, I still needed to review the drone footage properly, but my initial view was that the external roof and leadwork were probably not the main problem. The likely recommendation would be to make sure the lead is properly sealed into the stonework, treat the stonework with a suitable water-resistant treatment, and then for the customer to deal with the internal plaster affected by salts.
Sometimes the answer is not “rip the roof apart.” Sometimes it is about understanding the history of the building and recognising when an internal damp issue may be a relic of an old problem.
The Value of a Proper Roof Report
Once all the surveys were done, the next job was heading back to base and writing everything up.
That is the less glamorous part of the job, but it is also one of the most important.
A proper roof survey report gives the customer:
- Clear photographs of the defects
- An explanation of what the issues are
- Why those issues matter
- What could happen if they are ignored
- Practical repair recommendations
- Quoted repair options where appropriate
It also helps avoid guesswork.
Whether it is chimney repairs, roof repairs, lead flashing issues, gutter problems or general working at height, the first step is understanding what is actually going on.
Lessons From This Day of Roof Surveys
The biggest lesson from this day is that roof problems are not always obvious.
One chimney can look terrible and clearly need repointing or reflashing. Another can look fine from the outside but still have internal staining caused by salts, old damp or hidden defects.
Drone surveys are extremely useful, but they are only part of the process. The real value comes from combining the footage with experience, building knowledge and an understanding of how water behaves.
The second lesson is that access matters. Poor repairs often happen because someone could not reach the work properly, did not prepare the area correctly, or tried to patch over a problem rather than fix it properly.
And the third lesson?
If I send you an invoice for a roof survey and you want me to do it, please pay it promptly so I do not end up touring half the East Midlands in the least efficient order known to man.
Frequently Asked Questions
How do you fix a leaking chimney?
Fixing a leaking chimney starts with identifying where the water is getting in. Common causes include failed lead flashing, damaged chimney flaunching, poor pointing, open pots or porous brickwork. Proper chimney repair may involve repointing, reflashing, reflaunching, sealing or, in some cases, removing an unused chimney altogether.
What causes roof leaks around chimneys?
Roof leaks around chimneys are often caused by failed step flashing, poor soakers, cracked flaunching, deteriorated mortar joints or water getting behind the leadwork. Sometimes previous repairs hide the real issue rather than solving it. A drone roof survey can help identify the likely cause before carrying out roof repairs.
Can a drone roof survey find all roof problems?
A drone roof survey can identify many visible issues, including slipped tiles, damaged ridges, chimney defects, blocked gutters, failed flashings and vegetation growth. However, some hidden issues, such as failed soakers under leadwork, may require closer inspection or physical access. It is still an excellent first step for diagnosing roof and chimney problems safely.
Do blocked gutters cause roof leaks?
Yes, blocked gutters can contribute to roof leaks, especially when water backs up into valleys, behind fascias or around chimney back gutters. Leaves, moss, broken tiles and roof debris can stop water flowing properly. Regular gutter cleaning and gutter clearance helps prevent avoidable water damage.
Can a cherry picker access tight spaces for chimney repairs?
A spider cherry picker can often access areas that scaffolding or larger machines cannot, especially on awkward domestic properties. It is useful for chimney repointing, chimney flaunching, roof repairs and high-level inspections. Proper cherry picker access allows the work to be carried out safely and more accurately.
How much does chimney repair cost in the UK?
The cost of chimney repair in the UK depends on the size of the chimney, the access required, and the type of repair needed. Small repairs may involve sealing or minor repointing, while larger jobs can include full chimney repointing, reflashing, reflaunching or removal. A proper survey helps identify the exact work required before quoting.
Follow Me Online:
• 🌐 Website: www.dji-uk.co.uk
• 🎥 YouTube: @dan_cherrypicker_man
• 🎵 TikTok: @dan_cherrypicker_man
• 📸 Instagram: @dan_cherrypicker_man
• 👍 Facebook: Dan the Cherry Picker Man
• ⭐ Google Business Page: DJI High Access Services – Google Search
• 🛒 Amazon Shop: https://www.amazon.co.uk/shop/danthecherrypickerman?ref_=cm_sw_r_cp_ud_aipsfshop_0H3MM4YGDVAPRTXQJAYV_1
My workwear is sponsored by Granite Workwear, and all of the clothing I’m wearing in the video can be purchased on their website: Workwear Clothing Supplier | Protective Safety Clothes