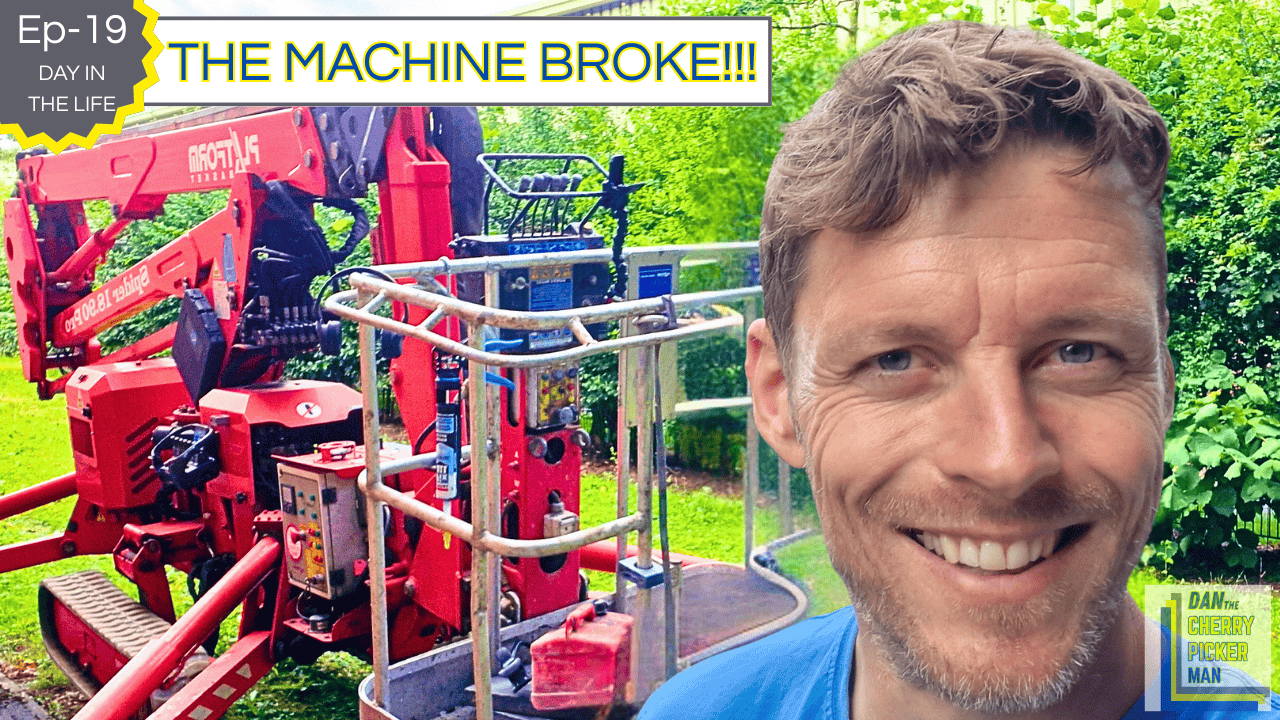
with Tom Heasman from Elite Access Ltd and Danny Iwanejko DJI High Access Services Ltd
If you’re thinking about buying a second-hand spider cherry picker, it can feel a bit like walking onto a car forecourt with no idea what’s under any of the bonnets. You know you need a machine, you know roughly what you can spend… but how do you avoid buying a money pit on tracks?
To help answer that, I went down to Milton Keynes to visit Tom Heathman at Elite Access – a specialist in repairing and selling spider lifts. Tom spends his life fixing, inspecting and selling these machines, and between us we’ve seen the good, the bad, and the “why on earth did someone sign that off?”
This guide pulls together the key points from our long conversation and turns it into a structured buyer’s guide you can refer back to. If you’re serious about buying a used spider lift, I’d strongly recommend watching the full video of our chat as well – there’s even more nuance and real-world examples in there that I can’t fully capture in text.
Who Are Elite Access – And Why Listen to Tom?
Elite Access has been going for about 14 years. They started purely as a repair business, fixing scissor lifts, booms and then increasingly spider lifts for rental companies.
Over time, tree surgeons and access users started asking:
“Would you buy this machine off us, fix it, and sell it on?”
That’s exactly what they did – and the sales side grew from there. These days, Elite Access:
- Repair spider lifts full-time
- Buy, refurbish and sell used spider lifts
- Also deal with new machines from several different manufacturers
In the last few years alone they’ve handled 50–70 spider lifts a year, mostly for the UK tree surgery market and other high-access trades. When someone sees as many machines as that – from all different brands, ages and previous owners – they get a very clear picture of what lasts, what fails, and what’s worth your money.
Step 1: Be Crystal Clear What You Need the Machine For
Before you even look at a specific machine, Tom’s first bit of advice is simple:
“What is your job – and what do you actually need the machine to do?”
Ask yourself:
- Are you a tree surgeon, roofer, window cleaner, solar installer, or general maintenance contractor?
- Do you mainly work in tight residential gardens, city centres, or industrial sites?
- Do you need maximum outreach, narrow access, indoor electric operation, or heavy basket capacity?
If you’ve hired machines before, that’s a big advantage. Think back:
- What have you used? (Platform Basket, Hinowa, Easy Lift, etc.)
- What did you like or hate about those?
- Did the working height and outreach actually suit your jobs?
If you already know, for example, that a 14–15m machine with decent outreach has covered 90% of your work when hired, that’s a great starting point when you move into ownership.
Step 2: Budget Reality – What Does Your Money Really Buy?
A lot of people come into the used spider lift market with a figure in mind – often something like £20,000 – and hope to get a miracle.
Tom’s very honest view:
- Around £20k can get you a spider lift,
- But it will often be 18–20 years old and close to end of life.
That doesn’t mean it’s a write-off, but you should go in with realistic expectations:
- Older, cheaper machines are:
- Less likely to be reliable
- More likely to need expensive repairs
- Less likely to hold their value when you come to sell
If you can stretch your budget even a bit, you often get:
- A younger machine
- Fewer big-ticket component replacements in the near term
- Better reliability
- Better resale value
For example, for around £20–25k, you might find an 8–10-year-old 14–15m spider in reasonable condition. If you want 20m+ height or very high spec on a tight budget, you’re usually looking at something rough, incomplete, or “sold as seen” with underlying issues.
Bottom line:
👉 Spend as much as you can realistically afford – future you (and your repair bills) will thank you.
Step 3: History, LOLERs and What Paperwork Can Tell You
Spider lifts aren’t like cars – they don’t come with neat service books and stamped dealer history. It’s actually quite rare to see a full set of records.
However, if you can get history from a long-term owner, it’s very valuable. Ask for:
- Past LOLER inspection reports (the 6-monthly thorough examinations)
- Invoices for major work:
- Rope changes (often at fixed intervals on taller machines – e.g. every 7 years)
- Slew bearing replacements
- Boom or outrigger repairs
- Hose replacement programmes
- Records of regular servicing and greasing
Things to consider:
- Has it been LOLER’d regularly?
- Proper access engineers with a CAP card shouldn’t be signing off unsafe machines.
- If issues have been recorded and then cleared on the next LOLER, that’s a good sign.
- If there’s no history, factor in:
- A full inspection by a specialist access company as soon as you get it
- The cost of catching up on neglected servicing and safety items
Think of it like getting the AA/RAC to inspect a used car – except this time, it’s a cherry picker, and the consequences of a missed problem are a lot scarier.
Step 4: Key Red Flags When Viewing a Used Spider Lift
If you’re going to look at a machine at a dealer, private seller, or even something you’ve found on eBay, here are the big-picture questions Tom suggests you keep in mind:
1. Does the machine look cared for or abused?
- Battered panels, bent covers, cracked cowlings
- Heavy dents in booms or outriggers
- Missing or obviously bodged components
A bit of cosmetic wear is normal; what you’re looking for is a general pattern of neglect.
2. Are the major components sound?
Pay particular attention to:
- Basket/cage – Is it bent, cracked, twisted or welded?
- Boom sections – Any dents, cracks or bends?
- Outriggers/legs – Straight and true, or visibly bent or kinked?
- Rams (hydraulic cylinders) – Any oil leaks, pitted rods, or dings in the chrome?
- Slew ring (slewing bearing) – Has it been greased? Any signs of heavy wear?
These are the parts that cost thousands to put right. You really don’t want to be buying a machine that needs a boom section or slew ring straight away.
Step 5: Testing the Machine – Not Just Looking at It
Tom’s absolutely clear on this point:
You must test the machine properly.
If a seller won’t let you see it working, or says “it just needs a battery” or “we haven’t got time to set it up”, that’s a big warning sign.
When you test it:
- Set it up correctly
- Deploy all outriggers and level it
- Make sure all the safety systems behave as they should
- Check safety interlocks
- On a spider lift, the cage should not lift unless the legs are down and the machine is safe
- Check it doesn’t allow unsafe movements (e.g. boom up with legs retracted)
- Run every function
- Telescope out and in
- Raise and lower each boom section
- Slew left and right through the full range
- Check basket rotation and fly-jib function (if fitted)
- Try both sets of controls
- Ground controls
- Basket/remote controls
- Make sure every joystick or button does what it’s supposed to
A lot of cheap machines sold “as seen” will appear fine for a few days… and then hidden electrical or hydraulic bodges show up. You’re trying to catch as many of those as possible before you hand over money.
Step 6: Consider Bringing an Access Engineer With You
If you’re spending £15–£30k+ on a machine, it’s often worth paying a few hundred quid for a professional opinion.
Many access companies (like Elite Access and others across the UK) will:
- Visit the machine with you
- Set it up as if they were carrying out a LOLER
- Do a thorough inspection
- Give you a written report:
- “It’s a good machine”
- Or, “It needs X, Y, Z doing – this is roughly what it will cost”
Again, think of it like an RAC inspection on a car – except with a lot more steel and hydraulics involved.
Step 7: Brands, Popularity and “Horses for Courses”
Tom’s very diplomatic about brands, but a few themes came out of our chat:
- Hinowa (often what people mean when they say “Hanoa”)
- Very popular in UK rental fleets
- Simple, proven, widely recognised by customers
- Lots of tree surgeons and access users swear by them
- Easy Lift
- Make very simple, straightforward machines
- Newer models like the RA21 are designed specifically to compete with popular Hinowa models
- Sometimes offer features that better suit certain users (e.g. outreach, layout)
- Platform Basket, Palazzani and others
- Platform Basket have been in the UK for a long time and make solid machines
- Palazzani and others build very high, niche telescopic spiders, often for things like shopping centres and special applications
The key message is:
There is no perfect brand or machine – there is only the best machine for your work.
For example:
- A rental company may prioritise:
- A brand everyone knows
- Simple operation and robustness
- A big basket capacity
- A one-man roofing business might benefit more from:
- Extra outreach
- Narrower access
- Lower weight, even if basket capacity is smaller
Don’t just buy what’s popular by name – buy what actually matches your jobs.
Step 8: How to Physically Inspect a Spider Lift – From the Ground Up
Here’s a more detailed walkthrough of how Tom would inspect a machine like mine if I turned up wanting to sell it.
8.1 Tracks and Track Tensioners
Start at the very bottom:
- Track condition
- Check for splits, missing chunks, exposed cords or plates
- Look for signs they’ve been thrown off and refitted badly
- Track tension
- On many spiders, tension is set via a grease-fed hydraulic ram on the idler
- If the tracks are loose and there’s grease everywhere, ask:
- Has someone been lazy and never cleaned it?
- Or is the tensioner leaking? (Seals gone, grease escaping)
- Extending/narrowing tracks
- If the machine has expandable tracks, make sure they:
- Slide in and out freely
- Aren’t seized with rust
- Don’t show heavy gouging or wear on the sliding tubes
- If the machine has expandable tracks, make sure they:
Stuck tracks can require serious workshop effort, power packs and hydraulic pressing to free – another hidden cost.
8.2 Track Frames, Brackets and Pins
- Check for:
- Bent track frames or brackets (often from hitting kerbs or steps)
- Pins working loose
- Missing locking nuts or R-clips
A bent track frame is expensive and a sign the machine has had a hard life.
8.3 Drive Motors and Final Drive Area
- Look at the hydraulic drive motors at the sprockets:
- Any oil leaks?
- Any gear oil seepage?
- Listen when tracking:
- Grinding, rumbling or noisy drives can mean severe wear
Gear oil levels and condition can be checked later in your own yard, but obvious leaks are a red flag.
8.4 Engine Bay – Filters, Mounts and General Condition
Next, check the powerplant:
- Filters
- Oil and fuel filters: caked in mud and dust, or relatively clean?
- Black, thick engine oil suggests it hasn’t been serviced in a long time.
- Radiator & cooling
- Blocked with dust, leaves and muck?
- A clogged radiator can cause overheating and engine damage.
- Engine mounts
- Rock the engine by hand – if it moves excessively, the mounts may be shot.
- Failed mounts can let the engine shake itself to bits, destroy fans and belts, and damage surrounding components.
- Electrics
- Starter cables, plugs and connectors: corroded, butchered or dangling loose?
- Open looms and taped-up bodges suggest electrical issues past or present.
Again, you’re building a picture: has someone cared for this machine, or just driven it until things broke?
8.5 Hydraulic Hoses and Sheathing
Hydraulics are the lifeblood of a spider lift:
- Check every visible hose you can:
- Look for areas where the outer rubber has rubbed through to the metal braiding.
- Check for kinks, crush damage or oil leaks.
- Look for protective sheathing
- Some manufacturers (like on my machine) sleeve hoses as they run into booms.
- Sleeving:
- Protects from UV and weather
- Reduces wear from rubbing
- Gives an extra layer of protection if a tool or component is dropped
Hoses aren’t always insanely expensive individually, but a burst hose on site is messy, dangerous and can shut you down for the day.
8.6 Slew Ring (Slewing Bearing) and Greasing
This one is huge.
The slew ring is the big bearing that allows the upper structure to rotate on the chassis. If it fails:
- You’re looking at a massive bill
- In extreme cases, you risk the top section detaching from the base (worst-case scenario)
Things to check:
- Grease nipples around the slew ring
- Are they rusty and bone-dry?
- Or is there evidence of fresh grease?
- Any signs it’s been ignored?
- A neglected slew ring can wear to the point that it will fail the next LOLER, leaving you with a huge repair bill.
Personally, I’ve replaced slew bearings before – and I can tell you from experience, it’s not a cheap or simple job. For a buyer, a dry, neglected slew ring is a very strong reason to walk away or renegotiate hard.
8.7 Outriggers and Legs – Checking for Damage and Tip-Overs
Outriggers do a lot of work and tell you a lot about the machine’s past.
Check:
- Ram condition
- No leaks, clean chrome, no pitting or dings
- Leg structure
- Look straight down each leg to see if it’s bent or kinked
- A leg that curves or kinks partway down is often a sign the machine has tipped over or landed badly
- Contact pads
- Not smashed, missing chunks or badly cracked
- Switches and sensors
- Each leg usually has a switch to tell the system it’s down and loaded. Make sure wiring is intact and properly secured.
Telltale signs of a historic tip-over:
- Big dents in the boom or power track where legs have smashed into them
- Heavy, focused damage behind where the legs fold when they’re stowed
- Bent legs or outriggers that don’t quite sit right
A machine that’s been over can be repaired properly – with new slew bearings, new legs, power track, etc. But if the seller doesn’t mention it and you spot the signs yourself, you have to ask: what else are they hiding?
Step 9: Don’t Forget the Human Factor – Who Are You Buying From?
Tom made a really good point that it’s not just about the steel and hydraulics – it’s also about the person selling the machine.
Ask yourself:
- Are they open about the machine’s history (including any accidents)?
- Do they have invoices or LOLER reports to back up what they’re saying?
- Do they seem straight-talking and consistent, or evasive and over-selling it?
You can sometimes get a brilliant machine from a quiet, private owner who’s just used it sensibly around their property. You can also meet very chatty sellers who gloss over or hide major issues.
Use your judgement – if something feels off, it’s usually for a reason.
Final Thoughts: One Machine, 90% of Your Work
No spider lift is perfect. After testing various machines myself, it’s very clear there is no single machine that’s ideal for every job.
Your aim is to:
- Choose a machine that safely and comfortably covers 90% of your work
- Buy something that’s structurally sound, properly greased and not hiding major component issues
- Spend as much as you realistically can, and avoid the temptation of a “too good to be true” bargain
If you found this breakdown useful, you’ll get even more value from watching the full conversation with Tom at Elite Access – we go into more depth, with real machines in front of us, and you can see exactly what we’re pointing at as we talk.
I’ll also be sharing more videos as I explore different machines and work out what my next spider lift will be – so if you’re on the same journey, make sure you’re following along.
Follow Me Online:
- 🌐 Website: www.dji-uk.co.uk
- 🎥 YouTube: @dan_cherrypicker_man
- 🎵 TikTok: @dan_cherrypicker_man
- 📸 Instagram: @dan_cherrypicker_man
- 👍 Facebook: Dan the Cherry Picker Man
- ⭐ Google Business Page: DJI High Access Services – Google Search
- 🛒 Amazon Shop: https://www.amazon.co.uk/shop/danthecherrypickerman?ref_=cm_sw_r_cp_ud_aipsfshop_0H3MM4YGDVAPRTXQJAYV_1
My workwear is sponsored by Granite Workwear, and all of the clothing I’m wearing in the video can be purchased on their website: https://www.graniteworkwear.com/