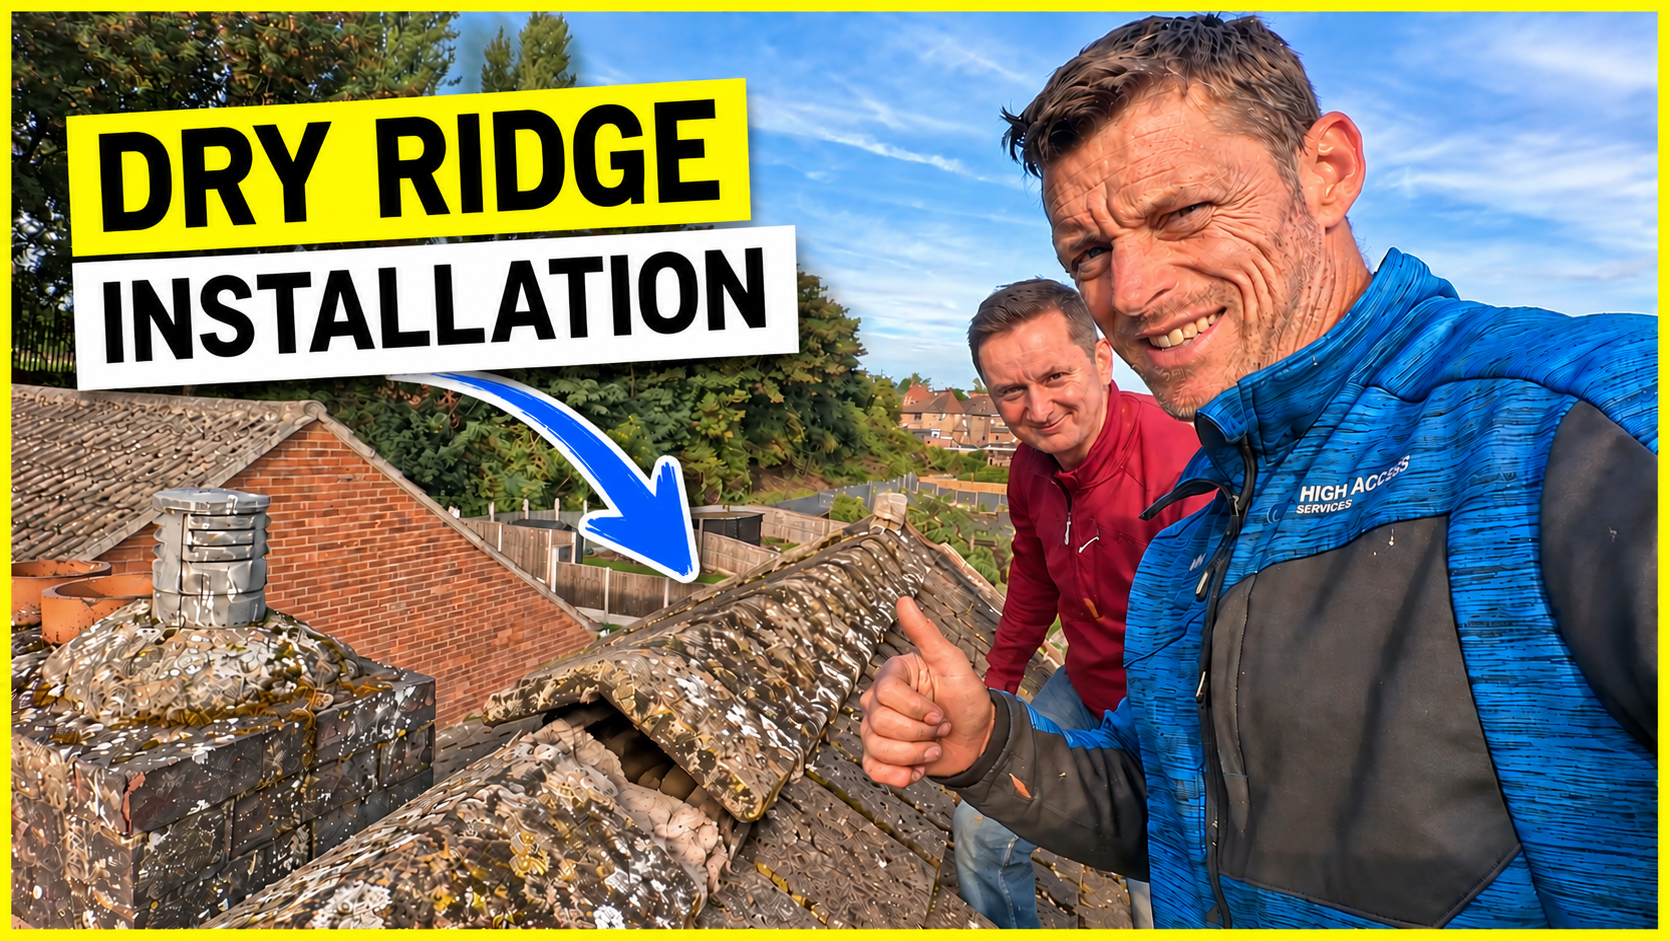
Sometimes you get onto a roof and immediately know that something has reached the end of its useful life.
That was certainly the case with the ridge line on this property in Nottinghamshire. The existing ridge tiles were extremely loose, the old mortar had deteriorated badly and several of the tiles across the roof were damaged as well.
So rather than trying to patch up a failing ridge and hope for the best, the plan was to remove the lot, clean everything back properly and replace the old mortar-bedded ridge with a mechanically fixed dry ridge system.
While we were there, we also had a chimney that needed re-flaunching and a handful of damaged roof tiles to replace.
It sounds like a fairly straightforward roof repair.
And for the most part, it was.
Until I tried to buy replacement roof tiles…
If you want to see the whole job rather than just read about it, you can watch the full video here:
Watch the full video:
https://youtu.be/293eWc9sMzk
Then come back and carry on reading, because there are a few useful lessons from this one – particularly if you own an older tiled roof.
Starting With a Failed Ridge Line
The first problem was obvious as soon as we started looking properly at the ridge.
The ridge tiles were loose enough that they could be lifted away remarkably easily. At that stage, there isn’t much point pretending that a little bit of fresh mortar around the edges is going to constitute a proper repair.
If the existing bedding has deteriorated to the point where the ridge tiles are no longer securely fixed, I would much rather remove the failing material and deal with the underlying problem properly.
That’s exactly what we did.
The ridge tiles came off and Tomek started the rather less glamorous part of the job: removing the old mortar and cleaning the roof tiles underneath.
Preparation is one of those things that doesn’t always make exciting viewing, but it can make an enormous difference to the finished repair.
If you’ve got loose ridge tiles, cracked tiles, deteriorated mortar or another problem with an existing roof, you can find more information about the roof repair work I carry out.
And if you’re not sure exactly what is wrong in the first place, that’s where a proper roof survey and inspection can be particularly useful. Diagnosis before repair can save a lot of guesswork.
Then We Hit the First Problem: What Are These Roof Tiles?
While Tomek was getting stuck into cleaning the ridge, we also needed some replacement concrete roof tiles.
Normally, that isn’t particularly dramatic.
Take an existing tile to the roofing merchant, identify it, buy replacements and get back to work.
Except I turned one of these tiles over and had one of those moments where you think:
What on earth is this?
At first glance, you might assume you’re looking at something along the lines of a Marley Modern, Redland or another familiar flat concrete interlocking tile.
But this wasn’t one I recognised.
The dimensions were different enough that simply buying something that looked vaguely similar wasn’t necessarily going to work. Roof tiles have to interlock correctly with the tiles around them. A replacement can look close while you’re holding it in your hand and still be completely wrong when you try to fit it.
So there was a change of plan.
I left Tomek cleaning the roof and headed off to the roofing merchant myself with an original tile.
Sometimes an Experienced Roofer Still Doesn’t Know What He’s Looking At
I think this is worth mentioning because there’s sometimes an assumption that if you’ve worked in a trade long enough, you should instantly recognise absolutely everything you encounter.
You don’t.
I’ve spent years working on roofs, chimneys and high-access jobs, and I still find products and materials I’ve never encountered before.
The useful bit isn’t pretending you know everything.
It’s knowing when something isn’t right and taking the time to investigate it.
At the merchant, we compared the original with other flat concrete tiles, but the sizes simply weren’t right. There were plenty of weird and wonderful old tiles knocking around, but nothing that solved my problem.
For a while, I thought I might end up driving around reclaim yards across Nottinghamshire trying to find a handful of obscure old concrete roof tiles.
Thankfully, the house itself was about to provide the answer.
The Best Roofing Merchant Was Apparently the Customer’s Garage
When I returned, we had a breakthrough.
The customer’s wife’s father had built the house back in the 1960s. Fortunately for us, he was apparently the sort of chap who didn’t throw useful building materials away just because the job was finished.
Decades later, sitting in the garage were some of the original roof tiles left over from when the property was built.
Perfect.
Not approximately the right size.
Not something we could persuade to fit.
The actual tiles.
That saved an enormous amount of messing about and meant we could replace the damaged tiles properly while retaining the existing roof covering.
It’s also a good example of why roof repairs on older properties aren’t always as simple as ordering a new tile from a catalogue. Products change, manufacturers disappear, profiles are discontinued and dimensions alter.
Sometimes the difficult part of a repair isn’t fitting the replacement.
It’s finding one.
Preparing the Roof for the New Dry Ridge System
With the old mortar removed, we could start building the new ridge system.
The roof tiles underneath were cleaned thoroughly, including blowing away loose debris and using a wire brush where necessary.
That’s important because the ventilation ridge roll uses adhesive strips along its edges.
It doesn’t matter how good the adhesive is if you’re trying to stick it to dirt, dust and loose material.
You’re only as good as what you’re sticking to.
The next stage was to secure timber along the ridge line, fixing it back to the rafters. That provides a solid structure into which the ridge tiles can ultimately be mechanically fixed.
Once the first timber was secured, a second was fixed above it to bring everything to the required height.
We could then roll the ventilation ridge roll along the ridge and bond the edges down onto the cleaned tiles on either side.
Why Use a Mechanically Fixed Dry Ridge System?
Traditional mortar-bedded ridge tiles have been used successfully for a very long time, but mortar is exposed to some fairly hostile conditions at the highest point of a roof.
Wind, rain, frost, temperature changes and general weathering all take their toll.
A dry ridge system takes a different approach.
Rather than relying principally on mortar to keep each ridge tile in position, the ridge tiles are mechanically secured.
On this job, the system uses a ridge roll, unions between the ridge tiles and screws with washers and plates to secure the ridge tiles back into the timber below.
That mechanical fixing is the important bit.
Once everything is installed, each ridge isn’t simply sitting on a bed of mortar hoping the weather remains friendly.
It’s physically fixed into position.
A Little Dry Ridge Installation Tip
There’s a small practical point in the video that is worth repeating.
When installing the ridge tiles, I don’t like tightening each one fully before the next ridge is in position.
Get the next tile in first.
That gives you a little movement to line everything up, adjust the joints and make sure the finished ridge is running straight.
Once you’re happy with the position, tighten the mechanical fixing and move along to the next one.
It’s not particularly complicated – which suits Tomek and me nicely – but little details like that make the installation easier.
If you’d like to actually see how the ridge roll, unions and mechanical fixings go together, this section makes far more sense visually:
Watch the roof repair and dry ridge installation:
https://youtu.be/293eWc9sMzk
Cleaning the Roof Tiles Before Sticking the Ridge Roll
One of the details I demonstrate in the video is the adhesive strip running along the underside edges of the ventilation roll.
Once the protective backing is removed, the material is pressed firmly onto the roof tiles.
I use a small roller to work it down into the profile and make sure the edge is properly bonded.
Or, as it became known on the day, the “rolly tool”.
Technical terminology at its finest.
The important bit is less amusing: the surfaces need to be clean and dust-free so that the adhesive can make proper contact.
That principle applies to plenty of roofing work. Preparation is often what separates a repair that merely looks good when you leave from one that continues doing its job afterwards.
The End Ridge Tiles Got Some Extra Attention
At each end of the ridge, I wanted a little more security.
We positioned the timber so I could drill through the end ridge and provide a mechanical fixing.
I also used mortar at the end and treated the underside of the ridge tile with a slurry mix to help the mortar adhere.
Was every bit of that strictly necessary?
Possibly not.
But if the materials are there and I can give something an additional secure fixing without creating another problem, I’d rather do that.
The objective isn’t simply to make a roof look tidy from the ground.
It’s to leave the repair secure.
Chimney Flaunching Was Also on the List
The ridge wasn’t the only maintenance issue on this property.
The chimney also required re-flaunching.
The flaunching is the mortar around the chimney pots at the top of the stack. Its job includes supporting the pots and helping shed rainwater away from the top of the chimney.
Because it sits in such an exposed position, deteriorated chimney flaunching is something I regularly encounter during roof inspections and chimney repair work.
Cracking, loose material and poor falls can all eventually contribute to problems if they’re ignored.
If your chimney has deteriorated mortar, damaged flaunching, failing pointing or other defects, you can read more about my chimney maintenance and repair services.
Chimneys are also a good example of why inspecting the problem closely matters. Water ingress around a chimney isn’t automatically caused by one thing. The defect could involve the flaunching, pointing, leadwork, surrounding roof tiles or another part of the roof entirely.
That’s one reason I offer roof surveys rather than simply guessing at repairs from ground level.
Replacing the Damaged Roof Tiles
While Tomek dealt with the chimney, I went around replacing the damaged roof tiles we’d identified.
There were several that had seen better days, including one with a nice hole through it.
Once you’ve got safe access to a roof and you’re already carrying out repairs, it makes sense to look at the surrounding area rather than concentrating so narrowly on the original defect that you ignore obvious problems a few feet away.
A broken tile might be a relatively small repair compared with replacing an entire ridge, but it’s still a potential route for water.
The aim on this job was to get the overall roof back to a decent standard, not simply tick one item off a list.
A Quick Lesson About Standing on Concrete Roof Tiles
There’s also a little moment in the video where I demonstrate something anybody working on tiled roofs eventually learns.
Where you put your feet matters.
On flat concrete tiles, I try to put my weight around the area where the tiles overlap and are better supported.
Stand in the wrong place on an unsupported section and there’s a much greater chance of cracking a tile.
It doesn’t matter whether you’ve been roofing for six months or 40 years – eventually, you’ll put a foot somewhere you wish you hadn’t.
I could have blamed Tomek for the broken one in the video.
Unfortunately, that would have been a lie.
Perhaps I should stick to the cherry picker basket.
Roof Repairs and Working at Height
A lot of the work I undertake involves roofs, chimneys and other areas that aren’t straightforward to reach.
That’s where the access side of my business comes into its own.
Depending on the property and the job, using specialist cherry picker access for working at height can provide an alternative way of reaching difficult areas without automatically treating scaffolding as the only solution.
Every site is different, though.
Access, ground conditions, working height, outreach, obstacles and the position of the repair all need considering before deciding on the correct method.
The machine is a tool.
The important bit is choosing the right tool for the job.
Why Roof Surveys Can Save Guesswork
Not every roof problem announces itself as clearly as a row of loose ridge tiles.
A homeowner might notice a damp patch, a leak during heavy rain, a piece of mortar on the driveway or something on the roof that simply doesn’t look right.
Finding the actual cause is the important part.
My approach with roof surveys and roof condition reports is to get close enough to properly inspect the relevant areas, document what I find and explain what actually needs attention.
That might lead to chimney repairs, ridge work, replacement tiles, gutter repairs or a relatively small roof leak repair.
It might also reveal that something a homeowner was worried about doesn’t require major work at all.
I’d rather diagnose first and repair second.
The Finished Job
By the end of the day, the old failing ridge had gone.
The roof had a new mechanically fixed dry ridge system, damaged tiles had been replaced and the chimney flaunching had been dealt with.
Tomek swept everything down and we were pretty much good to go.
It wasn’t the most complicated roofing job I’ve ever undertaken, but that’s partly why I wanted to film it.
These are the kinds of defects found on ordinary houses every day: loose ridge tiles, ageing mortar, damaged concrete tiles and chimney maintenance that has gradually become necessary.
And sometimes a straightforward job still manages to throw in an obscure 1960s roof tile just to keep things interesting.
If you’ve got a roof, ridge or chimney problem in Nottinghamshire or the surrounding areas, take a look at my roof repair, chimney maintenance and roof survey services on the website.
And if you enjoy seeing genuine roofing and high-access jobs rather than polished demonstrations, follow me online and subscribe to the YouTube channel. I regularly share real jobs, roof repairs, chimney work, cherry picker access, equipment reviews and the occasional thing that doesn’t quite go according to plan.
Frequently Asked Questions
What is a dry ridge system?
A dry ridge system mechanically fixes ridge tiles to the roof rather than relying solely on traditional mortar bedding. It normally incorporates a ventilation ridge roll, unions and mechanical fixings to secure the ridge tiles into timber beneath.
Should loose ridge tiles be repaired or replaced with a dry ridge system?
It depends on the condition of the existing ridge, but if the mortar has extensively deteriorated and multiple ridge tiles are loose, removing the failed bedding and installing a dry ridge system may be a better option than repeatedly patching individual sections. I assess problems like this as part of my roof repair services.
What causes chimney flaunching to fail?
Chimney flaunching sits in a highly exposed position and can deteriorate through weathering, frost and general ageing. Cracks and loose mortar should be investigated because the top of the chimney needs to shed water effectively; you can find more information about my chimney repair and maintenance work.
Can old roof tiles be difficult to replace?
Yes. Older concrete and clay roof tiles may be discontinued or have dimensions and interlocking profiles that don’t match modern alternatives. Sometimes matching an old roof tile requires reclaimed materials – although on this particular job we were incredibly lucky to find original spare tiles from when the house was built.
Can a cherry picker be used for roof and chimney repairs?
Cherry picker access can be very useful for certain roof repairs, chimney inspections and other working-at-height jobs, particularly where the required area can be safely reached from the platform. Suitability depends on access, ground conditions, working height and outreach, so each property needs assessing individually; more information is available on my cherry picker access page.
How do I know what is causing a roof leak?
Roof leaks can come from damaged tiles, deteriorated ridge or hip details, chimney defects, flashing, gutters and numerous other sources, so the visible damp inside isn’t always directly beneath the actual defect. A proper roof inspection can help identify the likely cause before deciding which roof repairs are actually necessary.
Follow Me Online:
• 🌐 Website: www.dji-uk.co.uk
• 🎥 YouTube: @dan_cherrypicker_man
• 🎵 TikTok: @dan_cherrypicker_man
• 📸 Instagram: @dan_cherrypicker_man
• 👍 Facebook: Dan the Cherry Picker Man
• ⭐ Google Business Page: DJI High Access Services – Google Search
• 🛒 Amazon Shop: https://www.amazon.co.uk/shop/danthecherrypickerman?ref_=cm_sw_r_cp_ud_aipsfshop_0H3MM4YGDVAPRTXQJAYV_1
My workwear is sponsored by Granite Workwear, and all of the clothing I’m wearing in the video can be purchased on their website: Workwear Clothing Supplier | Protective Safety Clothes
